Your First C Pi Program
At this point it is assumed that you have NetBeans installed either on the Pi or on a desktop machine.
It is also assumed that the Pi is correctly setup and, if you are using remote development, it is connected to a network and you know its IP address and can SSH to it.
Before we can start working with C we need to setup the details of where the C compilers are located. The Pi comes ready setup with the GCC compilers as standard and there is no need to do anything at all.
If you are running NetBeans on the Pi then NetBeans will have automatically detected the compilers and set up localhost as the build server.
If you are running NetBeans on a desktop machine then localhost, i.e the desktop machine, will have been setup as the build server, but this is only useful if the necessary compilers have been installed. In the case of Windows this is unlikely unless you have specially installed them.
Remote Build Server
For remote development you have to set up the Pi as the remote Build server. Of course you can skip this step if you are using NetBeans on the Pi itself.
To do this use the menu command:
Window,Services
and drop-down C/C++ Build Hosts ini the window that appears.
If NetBeans is running on the Pi when you expand the local host entry you'll see all of the compilers and other software needed to compile a C program:
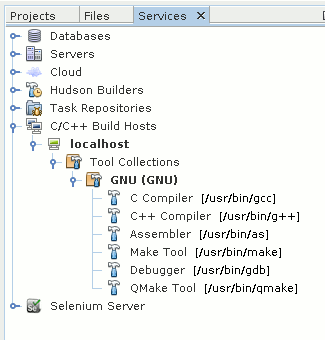
In this case there is nothing more to do.
If you are running NetBeans on a Windows desktop machine then the chances are that under localhost you will see
None(No Compilers Found).
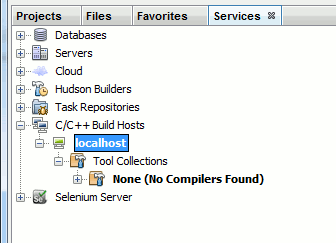
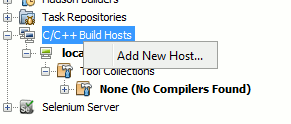
To work remotely we need to add the Pi as a build server. To do this right-click on C/C++ Build Hosts and select Add New Host:
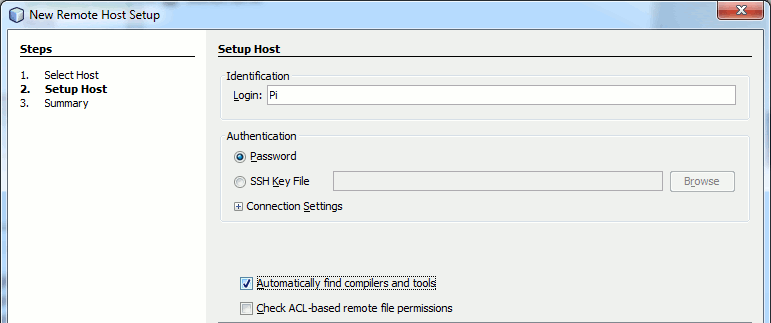
The dialog box that appears lets you set the identity of the build server.

In most cases you will have to supply the IP address of the Pi unless you have set up SAMBA on it. There are advantages to doing this, but not when you are just getting started.
The next dialog box that appears lets you type in a user name and specify how authentication will proceed. You can use a key file, but in the first instance just use a password. You can use the default log in details of user name 'pi' and password 'raspberry'. Notice that these are both case sensitive. You will be asked for the password when you first connect to the Pi. This, of course, is the password that the user you specified needs to log into the Pi. This may seem obvious, but with so many users and passwords involved in setting things up, it can be confusing.
Later on there are advantages to using a user name with root privileges and this will be explained later.
The final dialog box presents you with a summary of what you have set up:
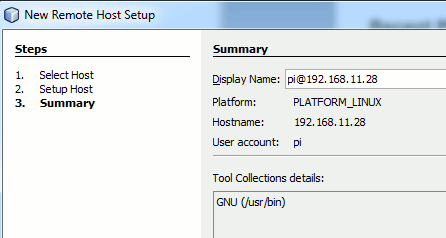
NetBeans should have found the C compiler and linker you are going to use as part of the GNU Collection. In a more general situation you might have to tell NetBeans where the compiler is or select which set of tools you want to use. In the case of the Pi and Rasbian you can leave the defaults as they are.
First Project
Time to write your first C program.
Select File.New Project and select C/C++ Application.
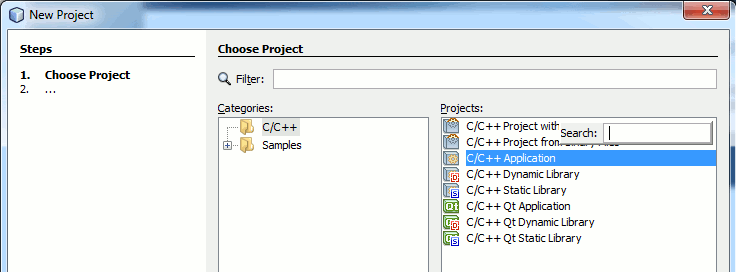
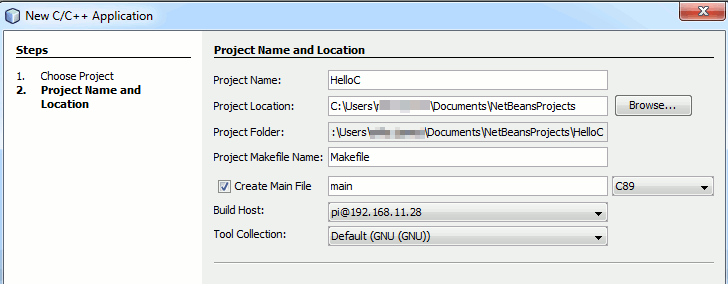
The next dialog box is the one where you customize the project.
You can give the project any name you like HelloC is reasonable for this first example. You need to select the dialect of C you are working in C89 is the most common choice but C99 has the advantage that you can use single line comments //comment and this is worth having and hence this, C99, is what we will be using in the rest of this book.
You can generally leave the rest of the entries at their defaults but if you are working remotely you might have to set the Build host to the Pi you set up as the build host earlier. If you are working with NetBeans on the Pi then the Build Host will be Local Host.
This is really the only difference between the two methods of working in terms of getting things setup but notice that the project files are stored on the local system and copied to the remote system to be built and for testing.
By default NetBeans uses SFTP which will work as long as the SSH connection to the Pi works. Later we will look at an alternative way of setting things up using SAMBA file sharing which has some advantages but is much more complciated to get setup correctly.
NetBeans takes a few seconds to set the project up for you. When it is finished you fill find a C file main.c ready with the start of a program:
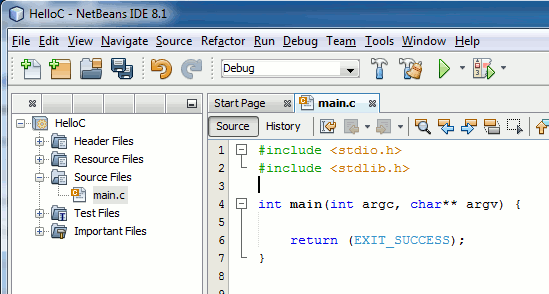
Change the program to read:
#include <stdio.h> #include <stdlib.h>int main(int argc, char** argv) { printf("Hello C World"); return (EXIT_SUCCESS); }
Yes it's a "hello world" program! What more do you need to test the compiler and linker?
All you have to do now is run the program, either by clicking the green "play" icon or using the menu command Run,Run.
If you look at the Output window at the bottom of the screen you will see messages about how the compile is going. If you are working with the Pi as a remote build host then the files that have changed will be uploaded and then the compiler run using make - more about make in a later chapter.

